
- Colored T-shirt
- Bleach
- Bowl
- Scissors
- Beads
- Metal Utensil
- Gloves
- Washing Machine
- Rubber Bands (Optional)
The first thing you’ll need is a T-shirt. The two shirts that I used were on sale in the guys section of Urban Outfitters for $2.50! Thrift store T-shirts also work well.
One thing you have to take into account is the color of your t-shirt—the darker the color, the more your bleaching will show up. However, don’t be afraid to try something else! Orange is the hardest color to bleach, but as you’ll see it can be done!
One thing you have to take into account is the color of your t-shirt—the darker the color, the more your bleaching will show up. However, don’t be afraid to try something else! Orange is the hardest color to bleach, but as you’ll see it can be done!

Next, you’ll need to get a bowl to put your bleach in. Because I am doing two t-shirts, I chose the bigger metal bowl. But a simple pie tin will work if you’re just doing one!

You’ll need to get your bleach out now. I put two rubber bands on the bottom of each t-shirt, just to give the bleaching a little more texture. However, this is entirely optional. Be creative with this!

Move to a place outside where there’s not a risk of spilling bleach on carpet. You should have 1/2 bleach and 1/2 water in your bowl. I used a cup and a half of each, but if you’re only doing one shirt you can use less. Also, this is the time to put on gloves and make sure you’re not wearing any clothes you need to worry about getting bleach on.
Now you can put your shirt(s) in the solution. I only dipped the bottom third of the shirt; basically, however much you are planning to tassel.

Using the metal utensil, make sure your shirts are soaking up the solution. Then, you can leave the T-shirts to soak. Keep an eye on them to make sure they don’t bleach more than you want to.


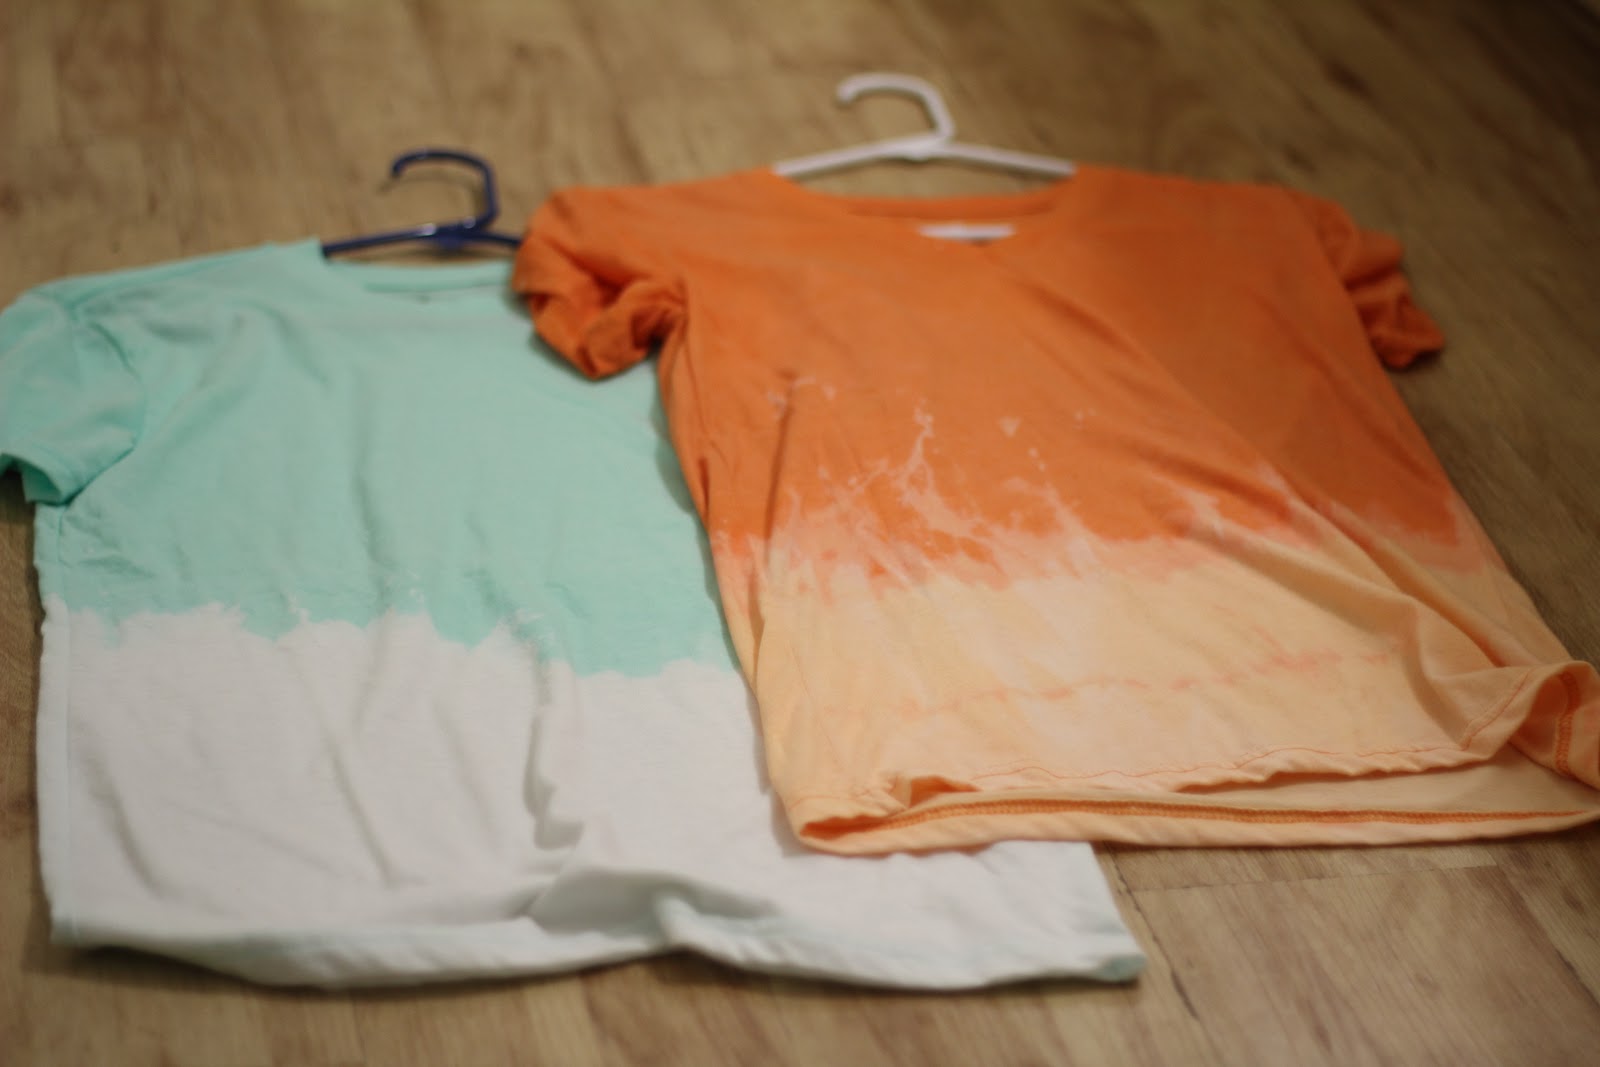
I left my shirts for 15 minutes and the seafoam green one was dyed all the way white. The orange one, however, wasn’t very different so I left it for another 5 minutes.

After the 5 minutes, the orange shirt was a light peach color. After this, take out the shirt(s) and ring them out into the bowl. Make sure you’re wearing your gloves!

Put the shirt(s) in the washing machine with a little soap to get rid of the bleach smell. Wash and dry them. You shirts should look similar to this!
Take your scissors and cut 1 inch strips at the bottom of your shirt. Remember—you can always cut more later, so don’t cut too far at first! Just keep trying it out to see what looks good. It’s all up to you, so get creative! My shirts had about 14 strips on each side.

I got wooden beads to make a cute tribal look, but it’s entirely up to you! I used a bobby pin to push the fabric through the bead and I put them on randomly to have an artsy feel. For the orange shirt I put them on every other tassel.


Now you’ve got a unique T-shirt that’s all your own creation! So, throw on your favorite shorts and a pair of sunglasses and impress away!
Ashley Swazey
